

6 Tips for Storyboarding


Why Storboard?
Storyboarding is a useful tool for planning and revising the narrative before you embark on the expensive process of jumping into production and postproduction. Whilst spontaneity is a fantastic element in the creative process, it doesn't mean you should rush into your project without spending a little time working out a plan of attack.
Storyboarding can help solve a host of questions such as:
- How should I frame this moment?
- Which characters or props should be in the shot?
- What is the best way to stage the characters in the scene?
- How will it look when it is all edited together?
- Is this line of dialogue needed?
- Is this sequence needed?
The questions and problems that are bound to emerge can be resolved before you jump into production and at a fraction of the cost.
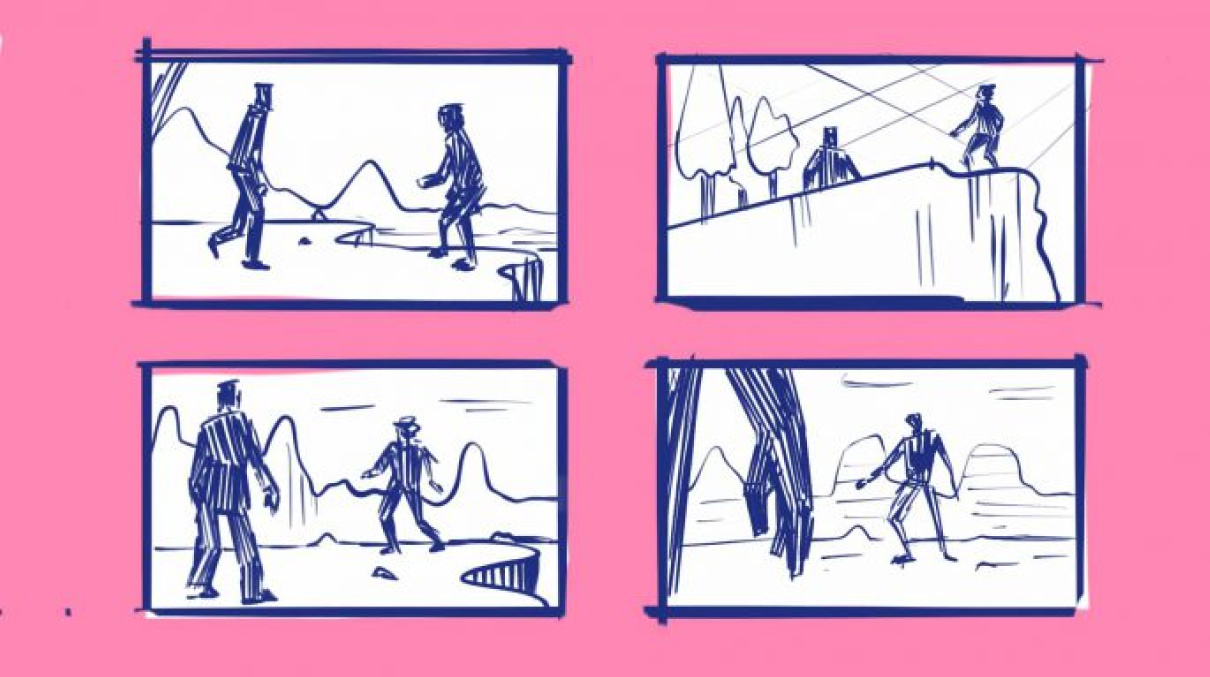
1. Work Fast But Maintain Clarity
There are a variety of tools to help you storyboard but we're going to focus on the traditional method of pencil and paper. Featured below are several stages that you can go through before you finish your final boards. How finished and polished your final designs will depend on the budget and the needs of the client.
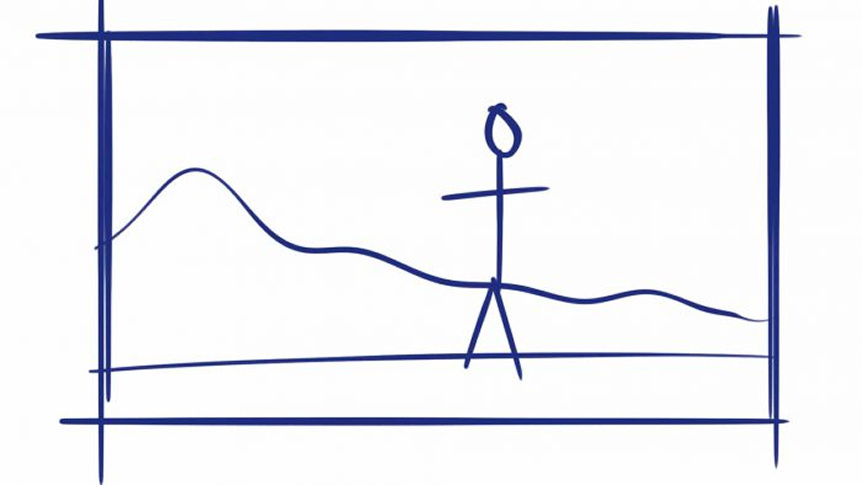
Start Rough... Really Rough
Before you begin sketching thumbnails, you'll want to work out your framing using stick figures and basic shapes. At this stage your goal is to work out the visual flow of the narrative.
Thumbnails
Now that you have a very basic layout of your scene you can start to focus on resolving the staging, working out character poses and providing a rough idea of the lighting for each frame.
Roughs
Okay you've completed your thumbnail, the story flows, you feel confident with your design and you want to take them to the next level. Let's gather reference materials and begin to flesh out your drawings with the appropriate anatomy, expressions, perspective, environment, etc.
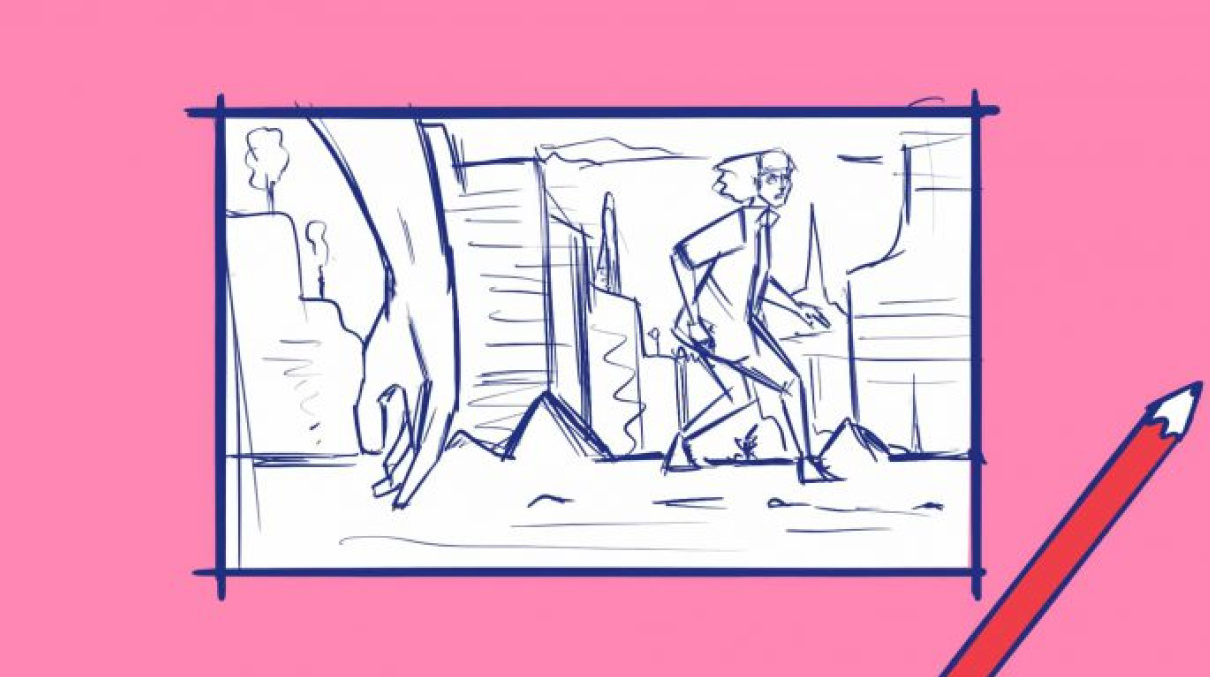
Clean Up
You've pencilled your roughs and they're looking a little scratchy, you've got this big client and you really want them to go with your idea. Now is the time to clean up your drawings so they look professional.
2. Focus On Storytelling
Don't Go Wild... Yet
When you are starting out you don't want to take focus off the storytelling with elaborate camera moves. Whilst these are nice, if they don't support the narrative they'll end up falling flat with the audience and lack the emotional impact you'll want to save this for.
Okay... Get Creative
So you've gone through and done your first round of thumbnails, you've thought about staging, framing and built a nice foundation for your scene. Now is a good time to look for creative opportunities in the framing, staging, etc.
- Can you move the camera in a way that will add and support the drama on the page?
- Would a slow truck in on one of the characters support the tension in the narrative?
- Would a helicopter shot from above during a car chase help set the scene?
We recommend watching films and learning about the various shots, camera movements and how they affect the way the audience feels. Check out this great content by StudioBinder below:
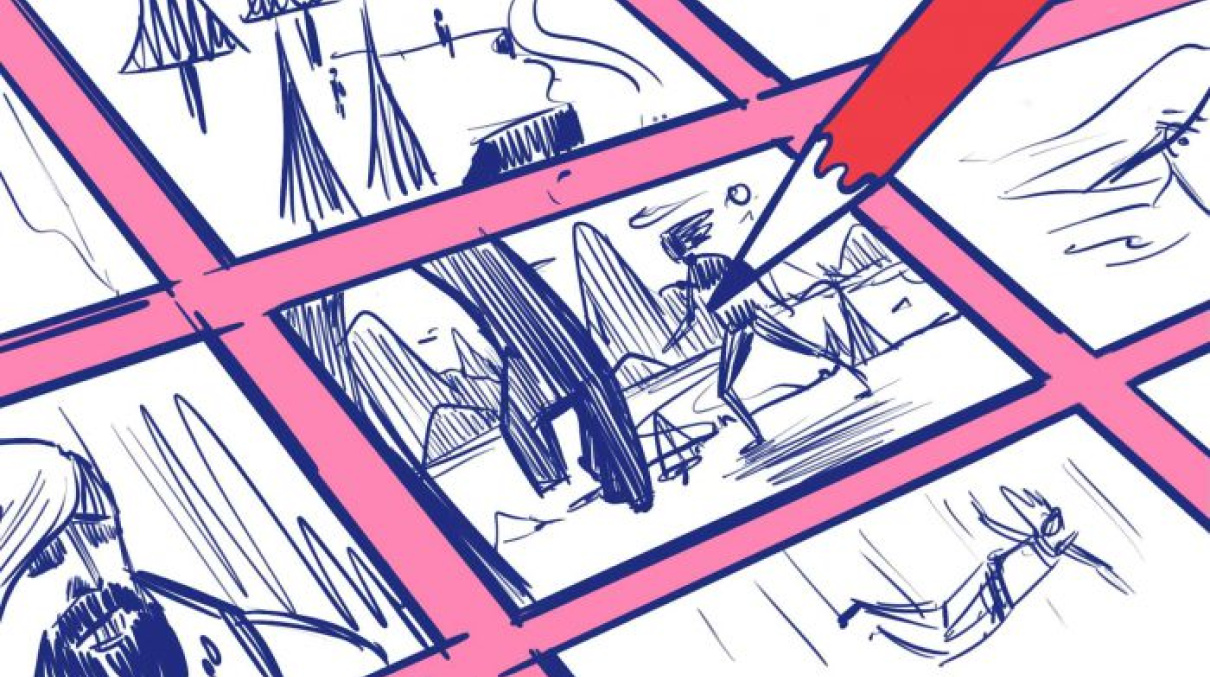
3. Use Diagrams
Imagine your scene from a birds eye perspective, lay down a grid and start to block in your elements.
- How big is this space?
- Are we in a backyard?
- A busy street in a city? Along a path in a forest?
This can be helpful if you are blocking out a particularly complicated scene where there are multiple characters and interactions in the environment.
Using diagrams can help you see the scene as a single moment fixed in space and time. It can help you understand the physical limitations of the environment you are filming in, where you can stage your characters for the appropriate dramatic effect and where it is physically possible to place a camera.
4. Draw Clearly
You don't need to be a master draughtsman to reap the benefits of storyboarding, you can get away with stick figures, 3D software and a variety of other options. However, if you're looking to become a professional storyboard artist you will need to learn and master fundamental drawing principles such as composition, perspective, lighting, anatomy, line weight and gesture to name just several of the many concepts you'll need to learn.
We won't be able to cover all of those in this post so we're going to focus on a few concepts you can work on in your next storyboard.
Choice of staging
Arguably the most important element in storyboarding is your choice of staging. A well polished and beautiful looking drawing will not bring much to the table if your staging is flat or uninteresting.
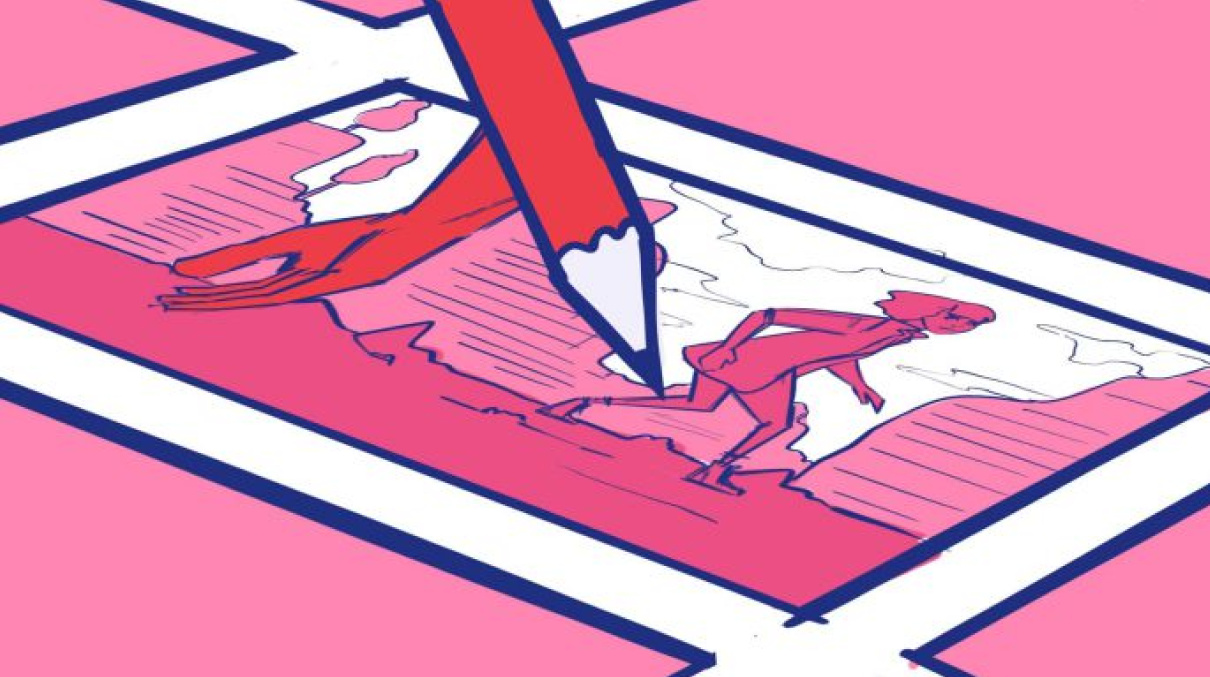
Strong Silhouettes
Animators are known for colouring in drawings to make sure they read well, the idea being that a strong silhouette will read clearly and register with the audience.

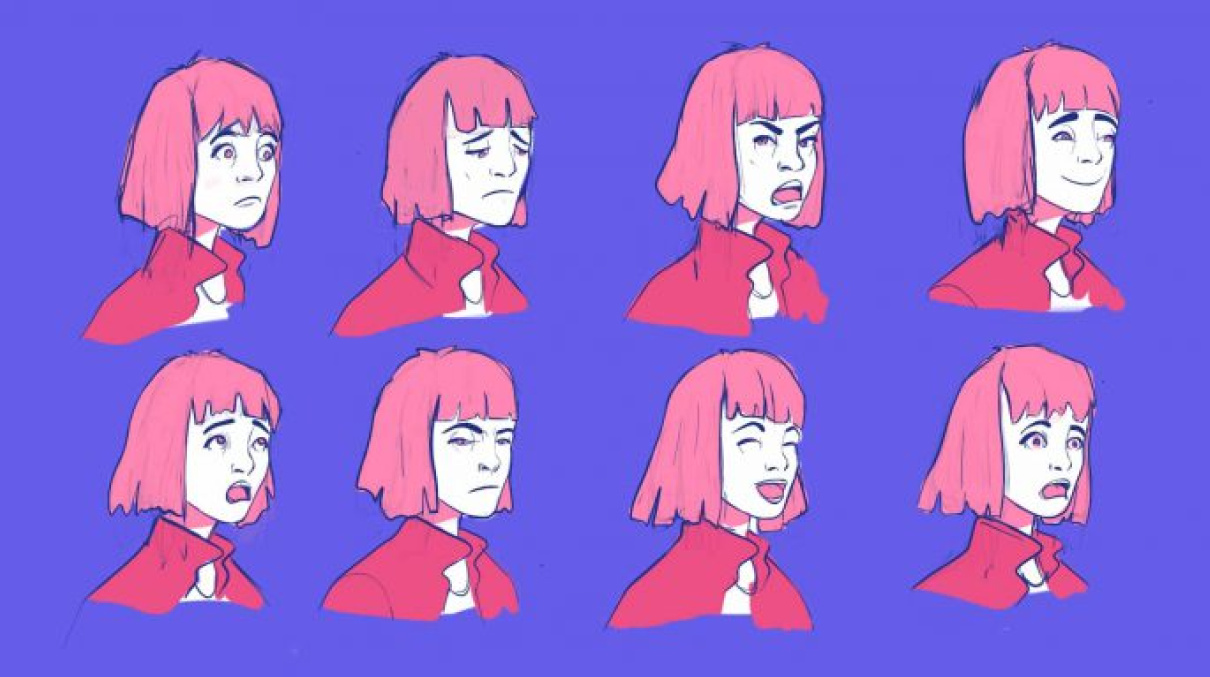
Expression
Make sure your expressions are clear, you don't need to draw every detail in the face but it should be clear what the character is feeling. Are they happy? Sad? Angry?
Use Planes
Defining the planes using lines that criss-cross over one another will help you ground characters, establish perspective and the angle of the camera.

5. Know The 180 Rule
The 180 rule is primarily used to establish a line of action when two or more characters are talking.
Breaking this rule will confuse your audience as it will appear that the characters are looking away from each other.

5. Throw It Out
Don't Get Attached
You are going to throw stuff out, some of it will be brilliant work and some of it will be bad. There are many reasons to throw things out.
- It's going to be too expensive to film
- It doesn't tell the story
- It's emotionally flat
- It's brilliant but it's not going to fit in with the larger narrative
- There's a better idea
This is a part of the job and something you'll need to get used to so being flexible and willing to try new things will teach you more about storytelling.
Keep An Open Mind
Think about your options when telling stories, your first idea is rarely going to be your best idea.
Good Luck
Storyboarding is a useful tool for those who want to use it, many fantastic filmmakers avoid the use of storyboards or over planning with the belief it kills creativity, while others meticulously plan their visions out.
Both approaches to storytelling have produced great results so it is up to you to decide whether this is the right tool for you.
For those wishing to seek a professional career as a storyboard artist, hopefully some of the techniques listed above can assist you along this path.
So if you are producing an animation, motion graphic, web design or film we hope these tips will help you jump into the production phase with a solid plan.
